Murdering a Hard Drive

It has no idea what is about to happen to it.
Have you ever wanted to take apart a hard drive? No? Well sod off, then. I have always wanted to tear open a drive ever since I really understood how they worked, and now that I am autonomous (and my girlfriend has taken a week holiday away from me), I decided that the time is right. Several months ago, one of my hard drives died – it suffered a horrible death which involved one of the many unpleasant hard drive dying sounds (for reference, mine was the first sound – I suggest you listen to the third maxtor sound, it’s pretty awesome). Deciding that it was a total loss (the freezer trick did not work), I decided to give it a new lease of life – satisfying my morbid curiosity.
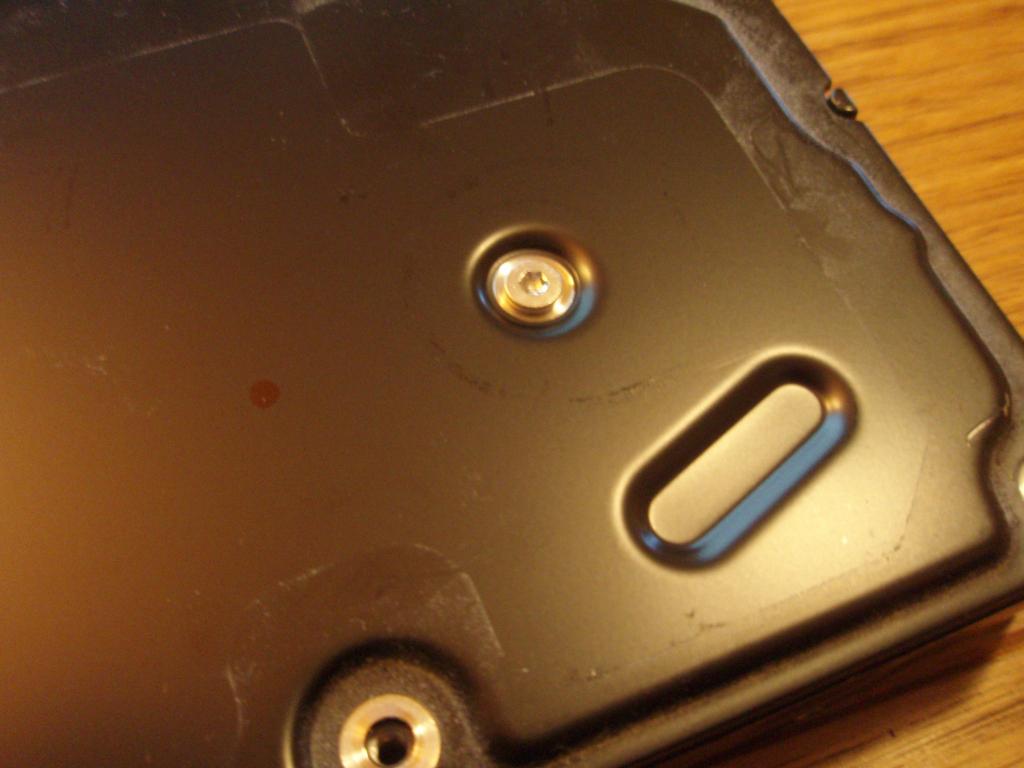
Hard drives are, like most electronic equipment, protected from the average lunatic by the virtue of not using a standard screw. This particular hard drive (like almost all of them) uses Torx screws. Torx screws are distinguished by a star-shaped screwhead (pictured on my disk); it was invented to provide a type of screwhead that did not cause the driver to slip out in the event of over-tightening (unlike the standard Phillips head), mainly because such a feature was not required for automated assembly techniques. As a side effect, Torx screws can be tightened far beyond that of a normal screw, and as they require a special driver, provide a deterrant for a layman. Now, when I started this article, I didn’t own a Torx set, and tried with a flathead screwdriver (which I was able to jam in between two of the star points). Unfortunately, it didn’t give me nearly enough force, and I managed to cause the driver bit to actually twist in the housing. The hard drive was able to live another day… or did it?

The first casualty
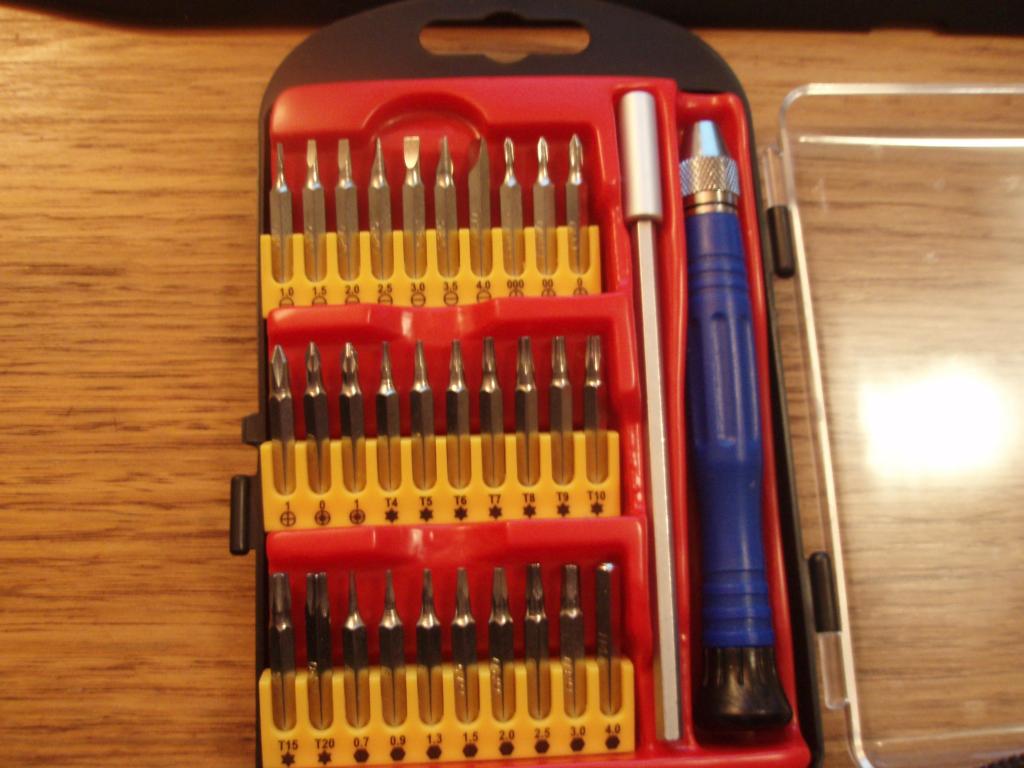
Until today, that is. Enter Dick Smith’s $13 screwdriver set, complete with Torx, flat, Phillips and hexagonal bolts. It turns out that hard drives almost all use a T8 screw, and thankfully, I had that exact part! First, I started by removing the screws on the underside of the hard drive, where the controller board was. The screws came out, and, with a little prising, I was able to pull off the controller board. In my total excitement, I forgot to take a picture of the board in place, but such is life.
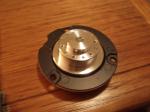
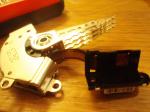
The large set of four pins on an angle is the interface to the hard drive motor – you can see a small piece of PCB attached to the spindle in this photo which it touches when not mercilessly ripped apart. The motor is controlled by the small square chip near the interface. The central chip with all the pins is what I assume is the main IO controller and host interface. The rectangular chip next to it is the RAM cache for the hard drive.
The last point of interest is the pad of pins visible on the top right of the circuit board (which connects to the pins still attached to the housing on the left of the picture). These pins connect to the reading heads in the hard drive. This kind of pin-grid interface allows the interior of the drive to be sealed and the controller added later. Sadly, at this point, I ran out of things to unscrew from this side, although I did tear off the shiny label and foam padding, revealing a tantalizing glimpse of the platters.

The prize
Turning the drive around, I unscrewed everything but found that there was no sign of the cover being removed. The drive almost certainly has tamper protection, as opening a drive in a non-clean room environment is a guaranteed way to destroy the drive, so I tore off the label, and found the culprit. The label was designed to mangle itself on removal, but I wasn’t ever going to try to reuse the drive, so I had no qualms about tearing it off and revealing the final screw. Interestingly, the case still refused to move. I couldn’t find any screws at all, so I resorted to technique 2: apply force. Using my handy dandy Dick Smith screwdriver extension and a flathead bit, I managed to lever the cover off (the top of the case is not only screwed in, but also sealed with an airtight, semi-solid adhesive). Finally, I got into the drive.
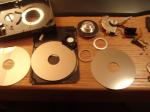
It is pretty magical actually. The platters look incredible, like gunmetal grey, glass CDs, only utterly, utterly spotless. They are perfect mirrors, and just don’t look like anything you see in everyday life. The platters were held together (and to the base of the housing) with smaller T7 Torx screws on the spindle assembly. Continuing on my path of destruction, I unscrewed everything I could and pulled the head assembly, spindles, and spacer rings out of the drive.
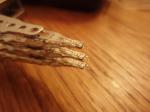
I’ll end this with a set of photos from the massacre. There are a few interesting things to note – I’ve taken a super close up of the drive heads. I was hoping to pull out a few rare earth neodymium magnets from the drive heads, but it seems that as hard drives have moved on, using ever more ludicrously-named magnetic properties, the magnets have become positively microscopic. Oh well. It looks awesome. I’ve since reassembled the platters onto the (now detached) spindle, because they look so… futuristic. I also took a picture of the actual physical damage on my drive from the head crash – the picture of a platter has a faintly visible pale ring near the centre of the platter – that was probably formed by the head smashing into the drive at 9000 RPM. It’s not a good look.


Reminds me of when I was 12 I found an old Toshiba laptop. Me and my friend spent the next 4 hours slowly taking it apart. We started by prying off every key on the keyboard.
That’s just sadistic.